Creating your Marketing Automation Campaign
This section focuses on how easy it is to create a marketing automation campaign within Websand and bring your data driven marketing strategy to life.
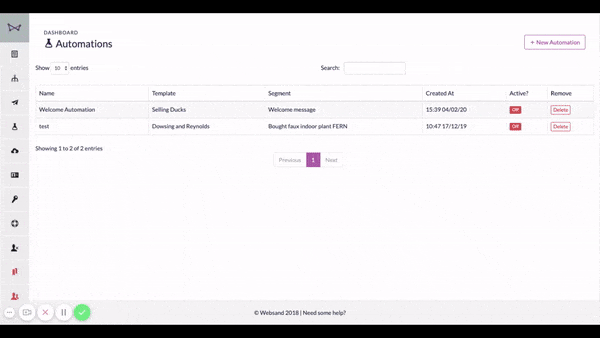
Return to the Automation Page
How to set up a marketing automation campaign
The automation function within Websand allows you to create trigger campaigns based on the behaviour of your audience.
This powerful process is simple to set up. The automations are data driven in that it is the segmentation that feed into the automation process.
This way the marketing automation campaigns are driven by the behaviour of your audience, be that as part of a lead generation process, a retention programme or loyalty campaign.
Creating your marketing automation plan
As with all marketing activity, you’ll get the best results when you have a plan for your automation. This blog post gives a useful guide to get you started, or get in touch and we can develop a plan for you based on our tried and trusted email marketing playbooks.
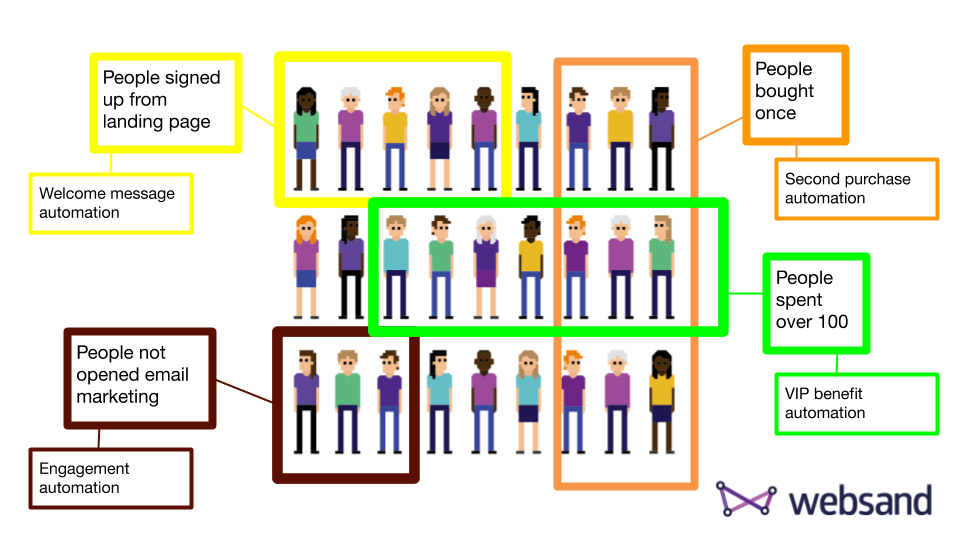
Creating Data Driven Triggers
The Websand segments control the audience for marketing automation in Websand. So if you plan is to create a marketing campaign targeted at those people who last purchased from you 90 days ago, you can create that audience in Websand using a retention segment.
In this example, as customers join ‘the retention segment‘ (not bought in 90 days), they are sent the message assigned to the marketing automation campaign.
For more information on how to build these triggers check the segmentation section
One-shot marketing automation
Websand works from a policy of single message automation. This means people will only receive a marketing automation campaign once.
We call that the ‘one-shot’ rule and it prevents repeat sending.
The one-shot automation rule works based on the ‘name’ of the marketing automation campaign, so be careful with how you name your automations.
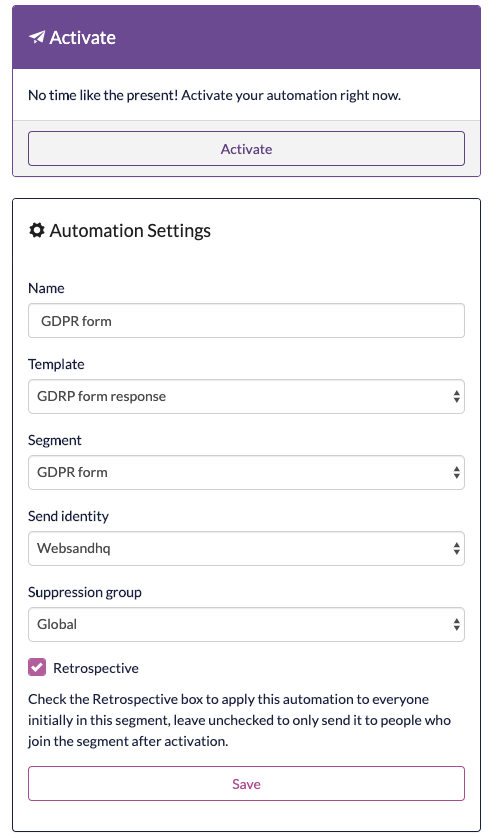
Configure your automation
When you create a marketing automation campaign in Websand you connect the data within a segment to an email design you’ve created.
So to create a marketing automation campaign in Websand you must first have…
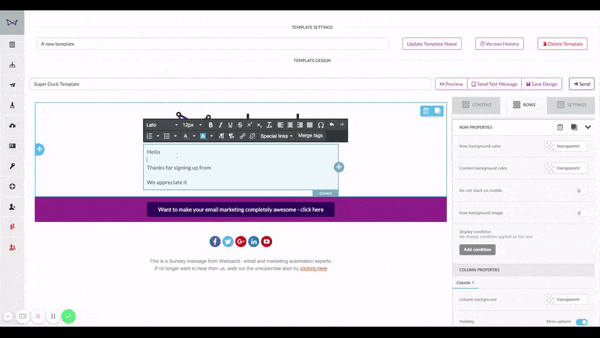
Designed your email marketing message
Created a segment relevant to the automation
Create a sender address, that is the email address that the message will be ‘sent’ from.
Naming your marketing automation campaign
It’s always a good idea to name the automation after the segment used to power the automation so it’s clear which audience will receive the campaign.
A good example for a marketing automation campaign is – Bought after 90 days automation.
Similarly, it’s a good idea to re-name the email template to mention that the design is included in an automation campaign.
What does retrospective mean?
If you tick the ‘retrospective’ option, once activated the automation would run retrospectively. That means the automation would include the existing audience within the segment within the automation.
If you do not tick retrospective, the automation would be activated from the point of activation. So only new people joining the segment would receive marketing from the automation campaign
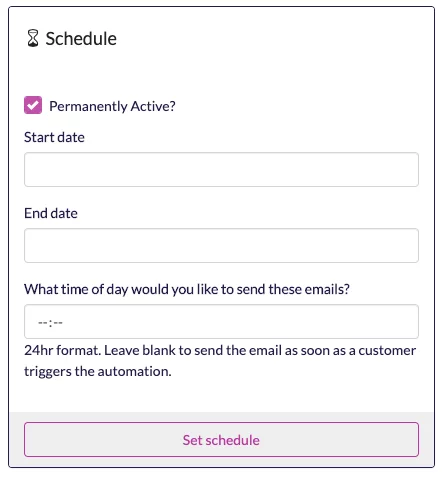
Setting the time of sending for your automation
Segments are updated dynamically, so for a time based segment that means the data is updated at midnight.
If you have an automation which is connected to a time based segment such as ‘retention‘ based on people who have ‘not purchased in the last 45 days’. The automation for those people entering that segment would be triggered in the early hours.
You can avoid this by setting a ‘time from’ in the marketing automation campaign. That would schedule the automation to be issued from that time every day that the automation is active.
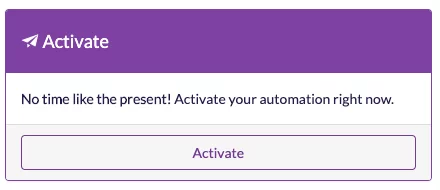
Making your Marketing Automation Active
Saving a marketing automation does not make the automation campaign active. To make the campaign active you must select the ‘active’ button in the top left corner of the automation screen.
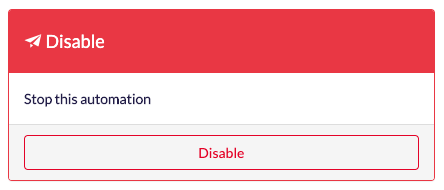
Disable your Marketing Automation
You can turn your marketing automation off but clicking the ‘disable’ button. That will stop the marketing automation campaign, and the button will return to the ‘active’ button.
If you’d like to restart the automation campaign, simply click the ‘activate’ button.
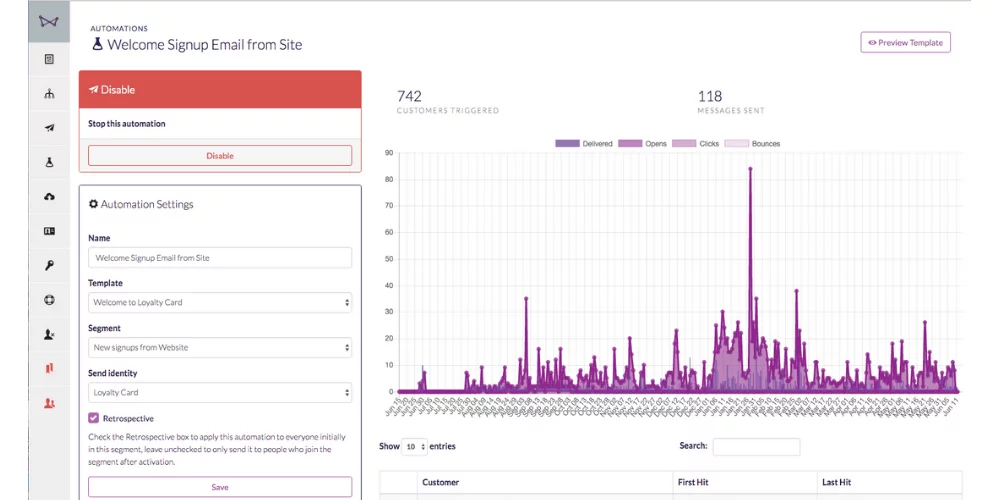
Marketing Automation Reporting
Once the automation is active. The graph to the right of the screen will update based on the messages sent and the reaction of the audience.
A list of all of those included in the campaign will appear in a table below the graph (not shown). You can click on the email of the individual to see their full details.
How the automation campaigns work.
The automation campaigns are driven by segments. The automations work in two different ways depending if you’ve selected the retrospective box or not.
A default marketing automation campaign
When you make a marketing automation campaign ‘active’, and the retrospective box has not been selected.
The people within the selected segment will appear in the automation dashboard. However they will not receive the automation campaign.
The automation campaign will only be sent to new people entering the featured segment.
A retrospective marketing automation (ticked retrospective box)
When you make a marketing automation campaign ‘active’, and you tick the retrospective box on the automation setup.
Everyone within the segment attached for that automation will receive the marketing message you’ve selected.
The marketing automation will initially work the same way as a normal send campaign. After that point, only new people entering the segment are sent a marketing message.
Personalising the marketing automation
You can personalise the marketing message using the merge fields within the email template editor.
For more details on this process, see below or click here.

Need help getting the most from your Email Marketing Automation?
If you need more help on how to use the marketing automation function within Websand. If you need help developing your plans. We can help you create data driven email programmes that perform off the scale. If you need support please get in touch.
Email support@websand.co.uk or give us a call +44.113.2045925.