Websand now has an Shopify App so you can connect your Shopify store directly to your Websand account. Making it so much easier to grow your e-commerce business through targeted email marketing campaigns and customer journeys managed by email marketing automation.
Set up will take you less than 3 minutes, here’s how it works
Table of Contents
Step 1: Add the App to your Shopify Store
You can find the Websand app through the Apps menu within your Shopify store or by Searching for Websand within the email marketing section of the Shopify app store.
Step 2: Connect your Websand account to your Shopify store.
If you sign up for Websand through the Shopify store and a new connected Websand account will created for you, so please move to step 3
If you already have a Websand account then you’ll be asked to update your API key – see the screen below.
To complete this process, you’ll need your Websand account URL and your API key.
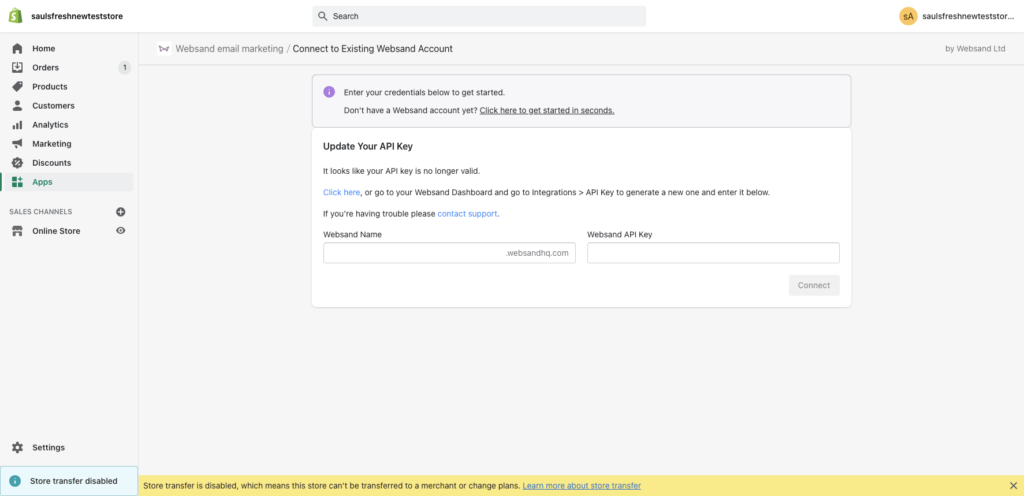
For the account name, log in to your Websand account, and then go to the integrations page.
Once in integrations, access or create an API key for your Websand account, copy and paste the API key into the page in your Websand Shopify APP.
For the account name, copy and paste your account name from your account URL.
Once both boxes have been filled, hit the connect button to link your Shopify store and Websand account together.
Step 3: Configuring your data within the Websand Shopify APP
Once the account has been connected, the next step in the process is to configure the rules on which data in your Shopify account is synchronised with your Websand account through the Websand Shopify App Dashboard.
The Websand email marketing Shopify app settings have four areas of configuration, which give you the flexibility to decide which data is shared from Shopify to Websand.
Step 3.1. Configure your marketing consent
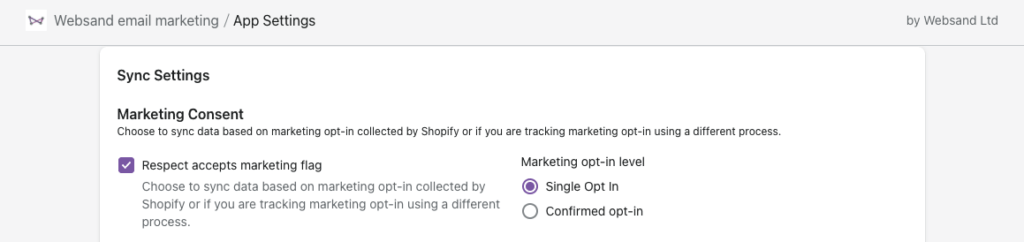
This step allows you to define which data you would like to send to Websand based on your rules around marketing consent.
If you tick the box to select ‘Respect accepts marketing flag’, then only customer records that have accepted marketing will be processed across into Websand.
You can then define if you want to include people with a single opt-in or double opt-in depending on how you’ve created the marketing consent process within your Shopify store. Depending on how you collect marketing consent from your customers held in Shopify.
If you leave the ‘respect accepts marketing flag’ unticked, all the customer data within your Shopify store will be send by the APP to your Websand account.
Step 3.2. Configure your product and price data setup
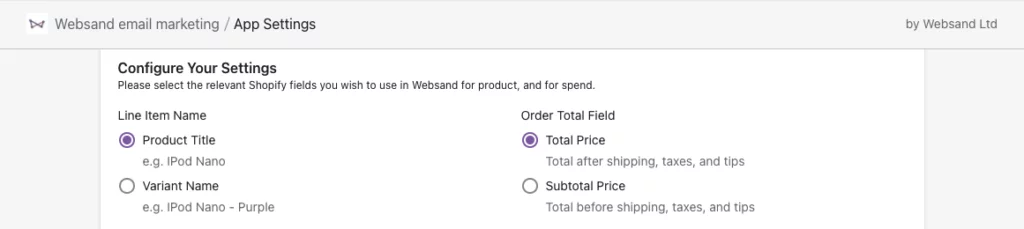
Product setup
The line item name for the products you sell within your Shopify store will be sent across to Websand with each customer order. This field will be used within the product segment, so it’s important that you select the configuration which best suits your needs.
Depending on the product naming convention you’ve used in your Shopify store, and how you want to segment your customers you might want to only include Product Title (e.g. iphone 12) or you might want to have it set to include Variant Name (e.g. iphone 12 – purple).
Order value
The order value will be used to update the customer lifetime value figure for each customer within your Websand account. You can either decide to include the Total price of each order, including taxes and shipping, or your can select the Subtotal price which is the order value excluding taxes and shipping.
Either option works, it’s your decision as to how you which to apply the rule.
Step 3.3. Time of Abandoned Carts
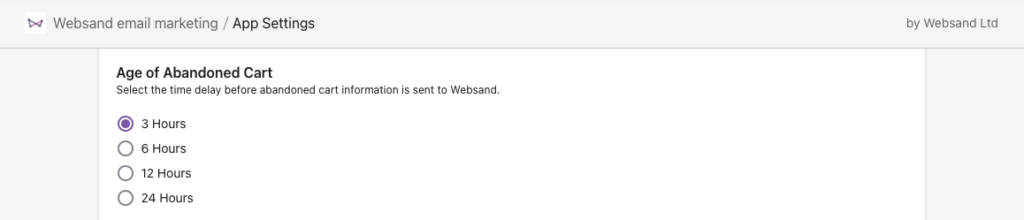
If you wish to use Websand to send your abandoned cart emails you can set the timing since the abandoned cart within this part of the Websand Shopify APP dashboard.
This data will change the source of the customer to Abandoned Cart in Websand, and send a link for the abandoned cart to the profile of the customer.
Those updates allows you to merge the cart link into your email design and you can create an automation using the Abandoned Cart segment.
And it’s foolproof, if the cart becomes an order, the source of the customer will be updated back to customer, moving the customer out of any abandoned cart segment and linked automation campaign.
Step 3.4. Any additional data you wish to sync from your Shopify store to Websand
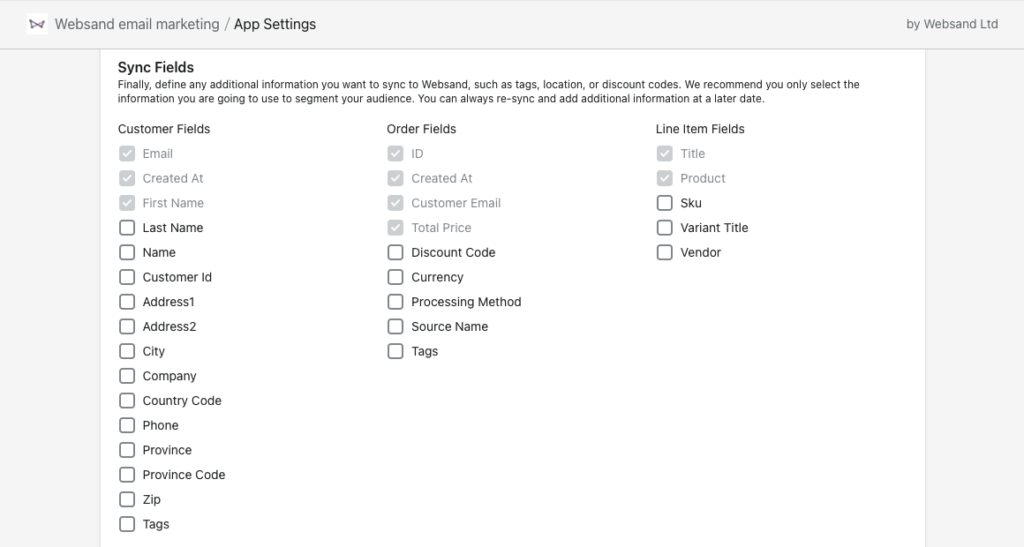
These fields represent a typical Shopify store setup. The Websand mandatory fields are already preset and cannot be unselected.
To add any additional fields tick the relevant box to add the relevant information for customer, order or line item within an order to your Websand account.
Note that any segmentation you wish to create related to the additional data fields you select should be handled through the Websand segment wizard.
Step 4: Sync the data from your Shopify Store to your Websand account.
Once you’ve completed your settings, hit the [Sync Now] button to set up the data link between your Shopify store and your Websand account.
You’ll see a bar showing the number of customer records and orders to be updated from your Shopify store to your Websand account
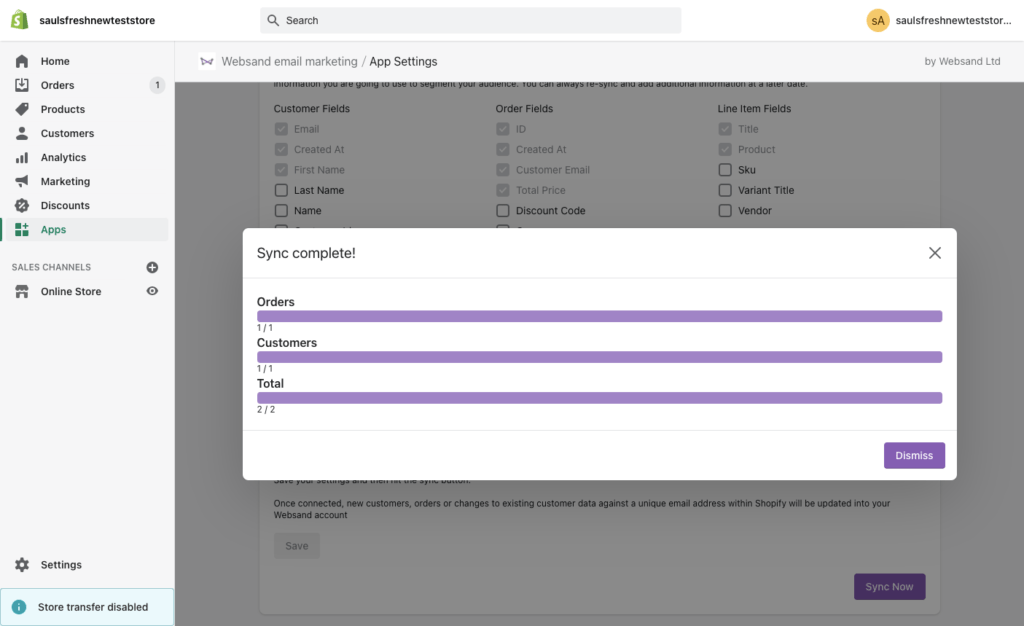
The first time the connection is made all the data that meets the criteria you’ve defined within the Websand Shopify App dashboard will be processed to your Websand account.
In some cases that could be a lot of information so the processing may take some time for the first sync.
Once you’ve completed the sync the information will be updated on your Websand APP dashboard within your Shopify account.
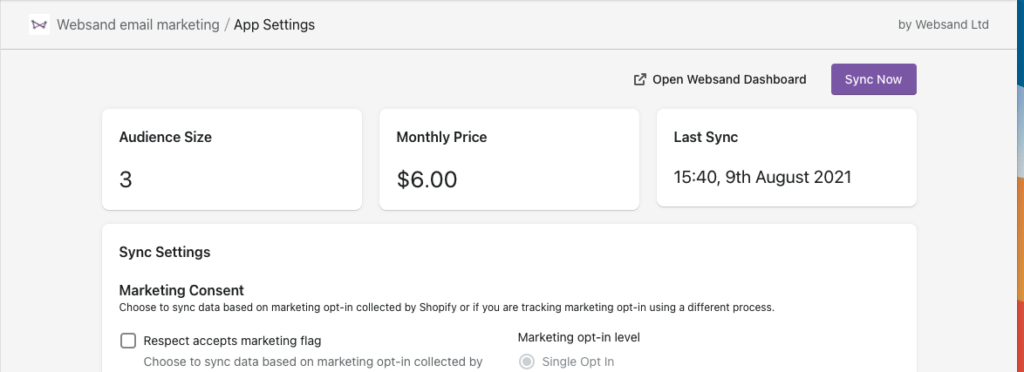
Note regarding billing. You’ll notice a billing figure on the dashboard, that will only apply if you’ve signed up for Websand through the Websand Shopify APP. If this is the case you will have already agreed to be billed through your Shopify Account.
Things to note regarding the data sync process
Once the first sync has completed any further changes to existing orders or customer profiles in your Shopify store will be updated in your Websand account.
If you find that only a small amount of data has been processed, that is most likely because you have selected ‘respect accepts marketing flag’ and the data in your Shopify store setup the majority of your customers have not agreed to accept marketing.
You are the data controller in this case. If you wish to you change the configuration for Marketing consent as explained in step 3.1. If you change the marketing configuration and repeat the sync process, the data will be then be sent to Websand.
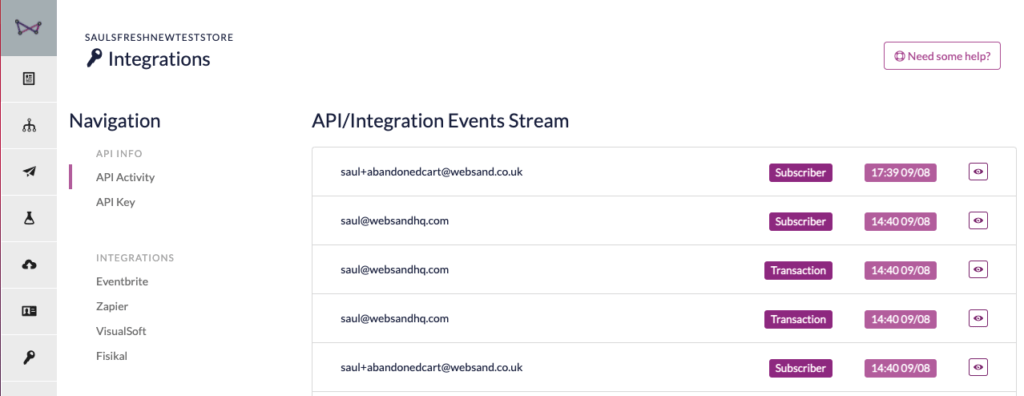
If you need to check or troubleshoot progress, go to the integrations page in your Websand account to check on the sync data moving and processing into Websand.
Get in touch for help or assistance with Websand or the Websand Shopify App
If you need any further information about connecting your Shopify store to Websand or want to find out more about how Websand can improve email marketing for your e-commerce store, book some time on the calendar below.